Installing a new car stereo can be a difficult task. However with this simple guide you can easily remove old stereos, install your brand new one within 30 minutes. I will go through the steps of installing car stereos in car from start to finish. Our process should not take too long, and using this walkthrough you should be able to quickly breeze through a car stereo installation.
Take out the outdated car stereo
Set the parking brake and disconnect the unfavourable cable out of your vehicle battery. Bear in mind to try this to avoid short-circuiting system in the midst of the arrange.
Unscrew any screws which could be securing the trim in place. Be careful to remove all screws sooner than attempting to pry off the trim or it is attainable you may break it.
Take away the trim. For some autos, it is attainable you may have to remove quite a few gadgets of plastic trim, usually working from the underside up.
- When you’ll wish to take away trim that options any knobs or drawers, take away them sooner than attempting to pry off the trim.
- Use your fingers or a pry software program to pry off every little bit of trim. Pry devices are significantly for this goal and will not harm the trim gadgets.
Pull out any important parts. When you’ll wish to take away any parts sooner than being able to entry the stereo, obtain this.
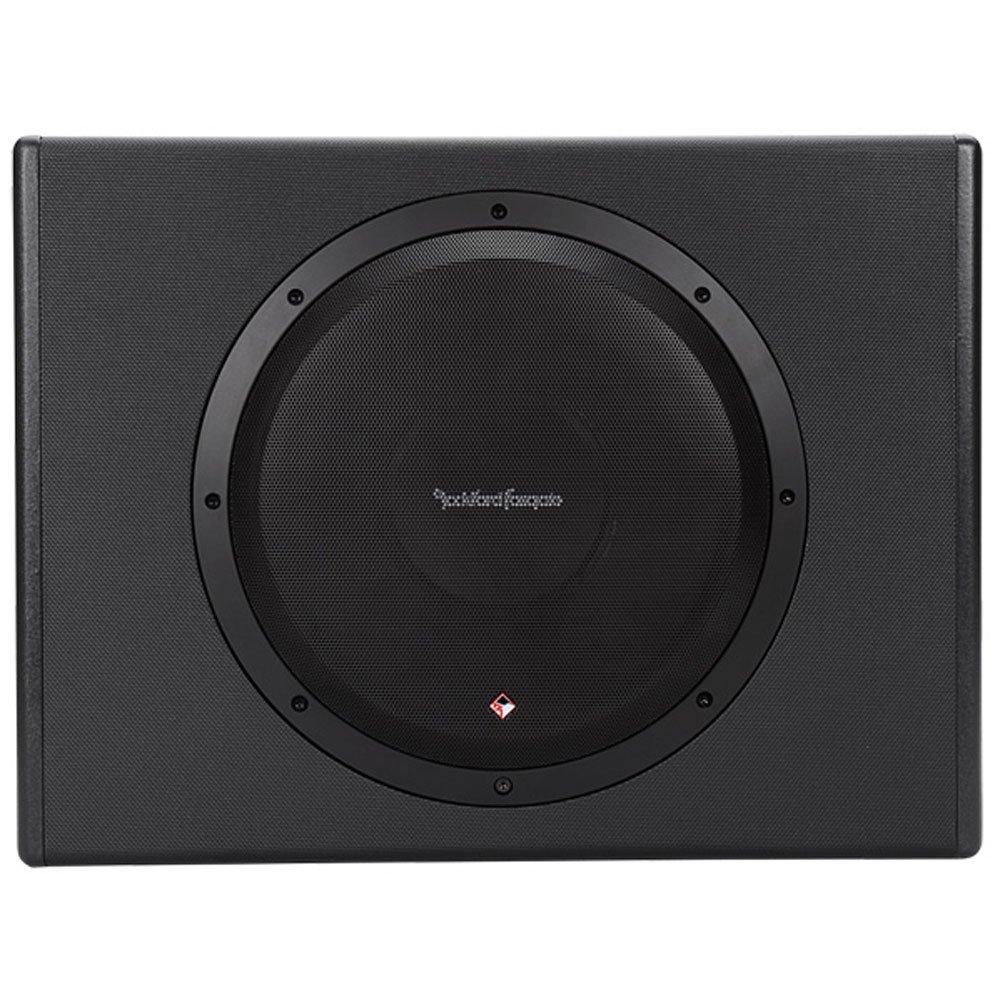
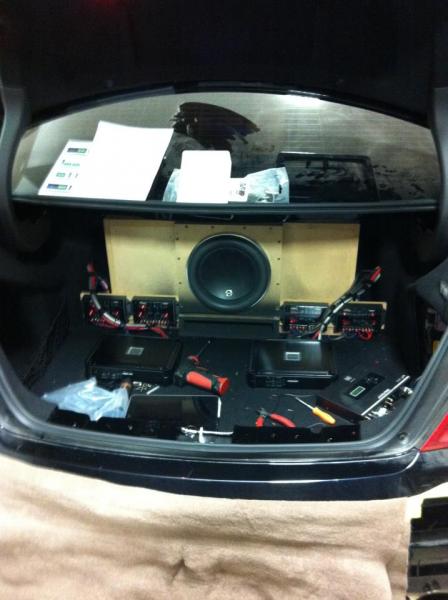
If you’re looking for a subwoofer installation guide check this out.
Disconnect parts which could be wired to the auto. Futhermore, you need to take a picture of how each is wired for later reference.
Loosen the stereo. Fully completely different autos might have varied elements securing the stereo in place. Here are the varied elements in the car stereo installation that you need to secure the stereo in place.
- If the stereo is held in place by screws or nuts, loosen them with the appropriate software program (screwdriver or nutdriver, respectively).
- If the stereo will not be held in place by screws or nuts, chances are you’ll wish to make use of a radio-removal key. Software program is commonly important in Ford autos. Radio-removal keys (typically moreover often called radio-removal devices) will generally each be in an elongated horseshoe type or can have a spherical type at one end and a notched shaft on the completely different. They’re accessible at most auto-parts outlets.
- Insert the keys into the two small slots throughout the face of the stereo. You will launch a mechanism holding the stereo in place. Slide the radio-removal keys into each slot as soon as extra until you’re feeling the stereo loosen from in its housing. You should then be succesful to tug out the stereo comparatively merely.
Pull the stereo out of the panel. You would possibly want to make use of needle-nose pliers to grip the sting of the stereo and allow you to tug it out. Pull it gently. And if the stereo wouldn’t come out merely, double look at that you haven’t missed any parts which can be holding it in place.
Take a picture of how the stereo is wired. This can be a essential step because of the image will perform a reference later when you’re wiring throughout the new stereo.

Unplug the stereo connections. You’ll see a set of wires associated to the once more of the stereo. And likewise you’ll should disconnect each of them.
- First unplug the antenna wire, which is ready to generally be a thicker wire plugged in individually from the remaining. As quickly because it’s unplugged, you have to be succesful to switch the stereo spherical further freely.
- Subsequent unplug the each of the wire harness connectors. There’ll generally be quite a few of these. Chances are you’ll acknowledge them because of a set of wires will feed into every. The plastic piece into which the wires are fed must have each a tab or a button you probably can push, which is ready to launch the harness.

Arrange the model new stereo – Key Part to Car Stereo Installation
Match up the wires. Match the wires of the auto’s harnesses to the model new stereo’s harnesses. Each harness connector is unique, so it have to be easy to find out which ones match collectively.
- To be safe, look at the wiring diagrams for every your vehicle and the model new stereo to verify you’ve associated them precisely.
- In case your vehicle’s stereo doesn’t use wire harnesses, you’ll should match up each wire manually. The wires are color-coded; however, the wires on an after-market stereo couldn’t match with the color-coded wires in your vehicle. It’s best to test and observe the wiring diagram that bought right here with the stereo.
- Be part of the matched wires. You have two decisions for connecting the wires, crimping or soldering. Crimping is faster and easier, nevertheless soldering will current a further safe and protected connection. Bear in mind to make use of the precise measurement crimper and don’t try to bundle the wires with tape — it will probably in the end dry out and fall off. Bundle wires using zip ties in its place.
Assemble the mounting tools. In case your new stereo bought right here with a separate mounting tools, assemble it in line with the stereo’s instructions (it will probably usually suggest turning into a metal housing sleeve into the mounting physique).
Push down on the tabs positioned throughout the metal sleeve with a screwdriver to protected the metal sleeve in place.
Be part of the power provide. Generally, you most likely have a wiring harness, this connection will doubtless be made when you be part of the model new stereo harnesses to the harnesses throughout the vehicle.
In case you are not using a wiring harnesses, you’ll should manually be part of the power. Determine whether or not or not your vehicle has a switched power provide (generally a purple wire) or a relentless power provide (generally a yellow wire). Some autos even have every kinds of power sources.
Flooring the stereo. In case you are using wiring harnesses, the connection will doubtless be made when you be part of the harness gadgets.
In case you are not using a wiring harness, you will have to seek out the bolt, wire, or screw that connects with the auto’s bare metal chassis. Loosen the bolt, wire, or screw and slip the stereo’s ground wire (usually black) beneath, then tighten.
Discover that the underside connection is important to the optimum effectivity of the stereo. If the underside wire wouldn’t hook up with the bare metal, it won’t work. And if the underside wire connection is unfastened, it would finish in poor audio output. Sand down the realm with sand paper to ensure an amazing connection.
Be part of the remaining wires. Plug throughout the antenna cable and be part of the stereo’s wiring adapter to the the auto’s wire harness. Be part of the output converter if one is required to make the model new stereo appropriate with the auto’s audio system.
Verify the stereo. In conclusion, Flip the power on and test the AM, FM, and CD parts. Verify the fade and steadiness settings to ensure the audio system are working appropriately. Flip the power once more off.
Finish
Push the stereo into place. When the stereo is completely in, you have to hear it click on on into place. This is when you know you’ve probably completed the car stereo installation! Congratulations!

Reconnect the weather. Fasten in any screws which could be needed to hold the stereo in place, reconnect any wired parts, and substitute any knobs or drawers that had been eradicated.
Finally, snap the entire gadgets of trim once more into place over the stereo. Double look at that each one screws and trim gadgets are securely in place.
Take a look at the model new stereo. Flip the auto power on as soon as extra and fiddle with the stereo and its settings to ensure each factor is in working order.
In conclusion, you’ve finished my car stereo installation guide, now all you need to do is blast that music!
Check out one of the best in-dash display system 2016 has to offer.